
In the city of Hamamatsu in Shizuoka Prefecture an ancient Japanese dyeing technique called chusen some is still practiced to this day. Originating from the 19th Century, a handful of craftsmen in the city specialize in chusen some, a skill that has long been associated with Hamamatsu.
Just to the north of Hamamatsu city center is the workshop of Nihashi Somekoujyo. Founded in 1927, Nihashi Somekoujyo continues to practice this traditional and unique hand dyeing technique. Their spectacularly decorative fabrics are used primarily to make yukata, a light kimono worn during the summer, as well as decorative hand towels made from cotton, called tenugui.
At Nihashi Somekoujyo visitors are able to learn the basics of chusen some by creating their own tenugui hand towel. This hands-on experience introduces each stage of the dyeing process, using traditional tools, materials and methods to create your very own tenugui.
Table of Contents
Making Your Own Hand Dyed Tenugui at Nihashi Somekoujyo’s Workshop
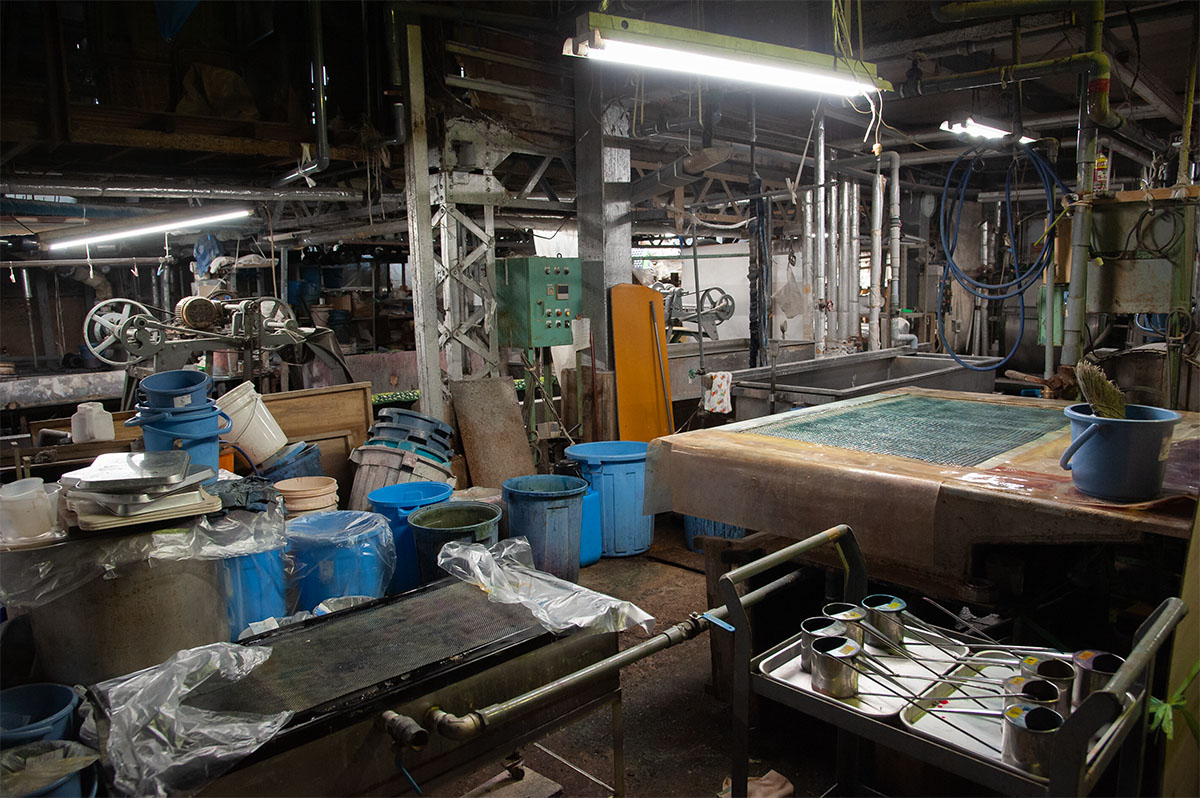
Situated on a normal residential street, from the outside Nihashi Somekoujyo’s headquarters gives no indication to the labyrinth-like workshop that lies inside. On stepping into the factory you’re met by all manner of whirring machines, bundles of fabrics, a maze of pipes, plumes of steam, and a whole lot more besides.
Dotted around the factory are numerous examples of the gorgeous fabrics that are made here, from scraps of works in progress to huge rolls of finished pieces ready for shipping. In one corner of the workshop is the workstation where you’ll begin creating your own tenugui, led by the expert hand of one of the factory’s employees. Here you are taken through the first steps involved in the techniques of traditional hand dyeing.
Learning the Traditional Dyeing Technique of Chusen Some
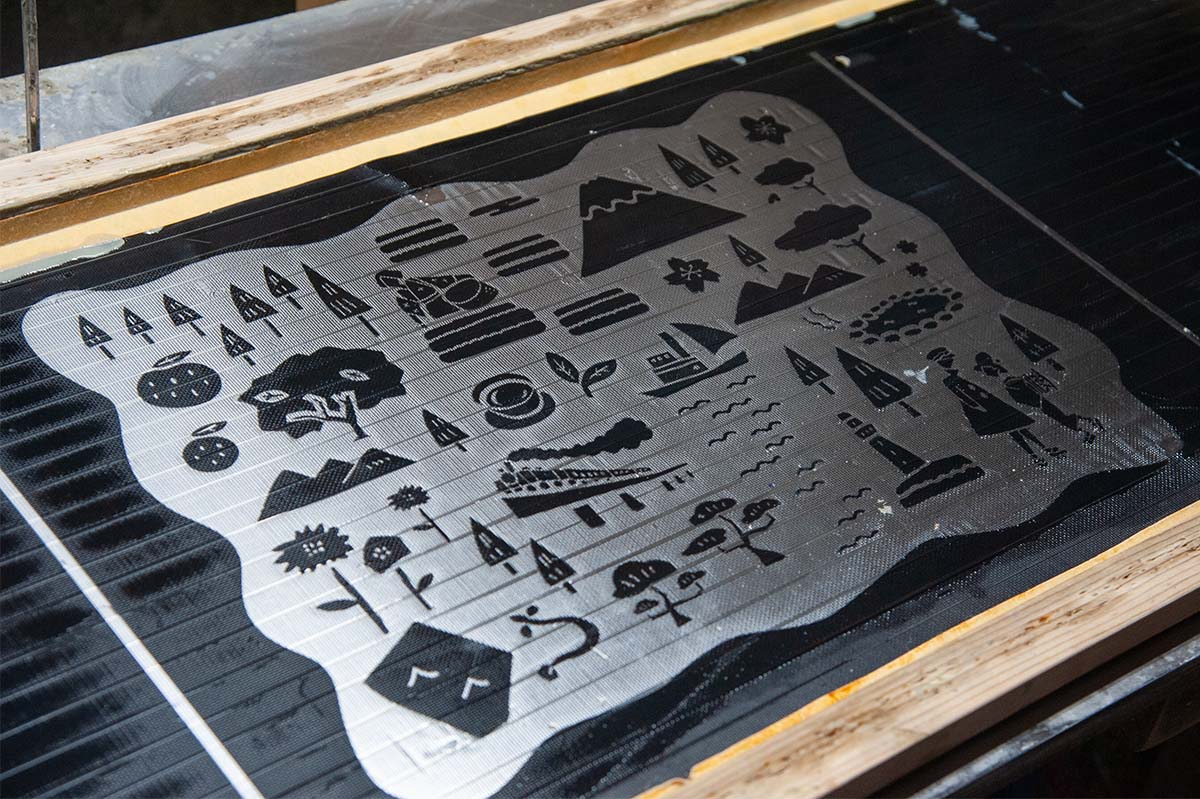
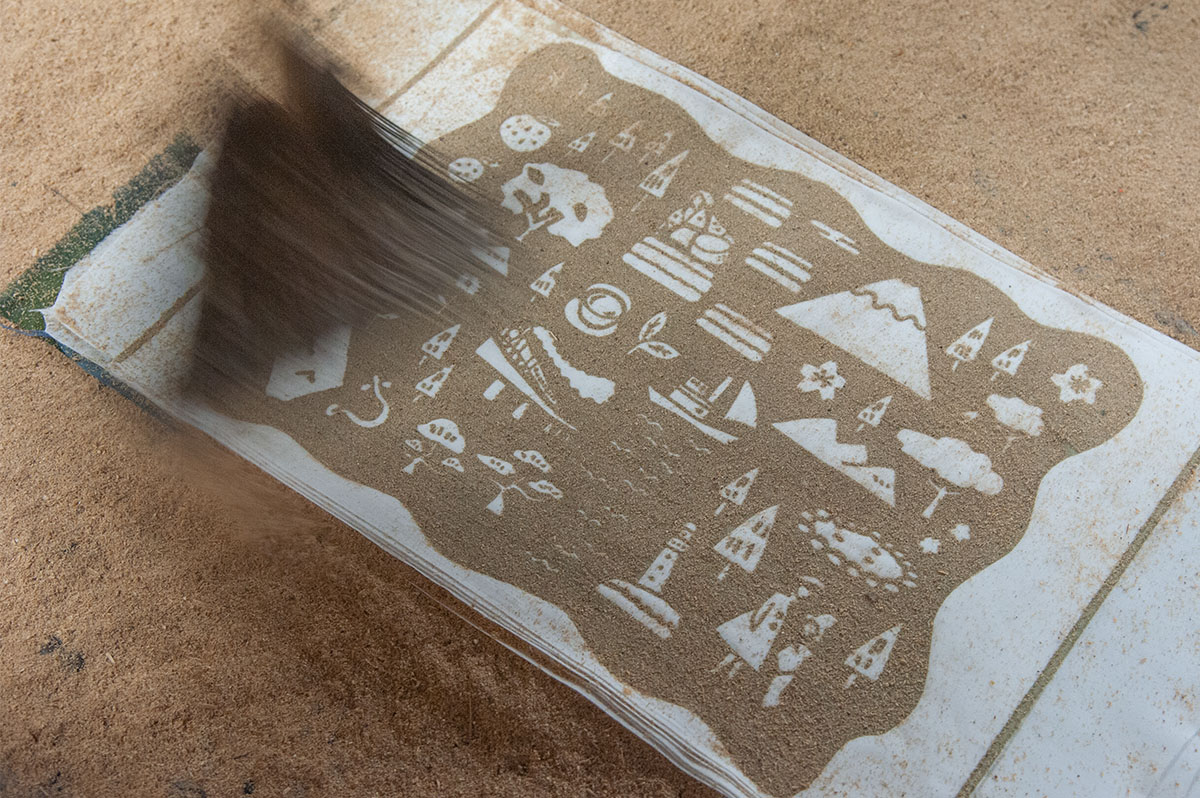
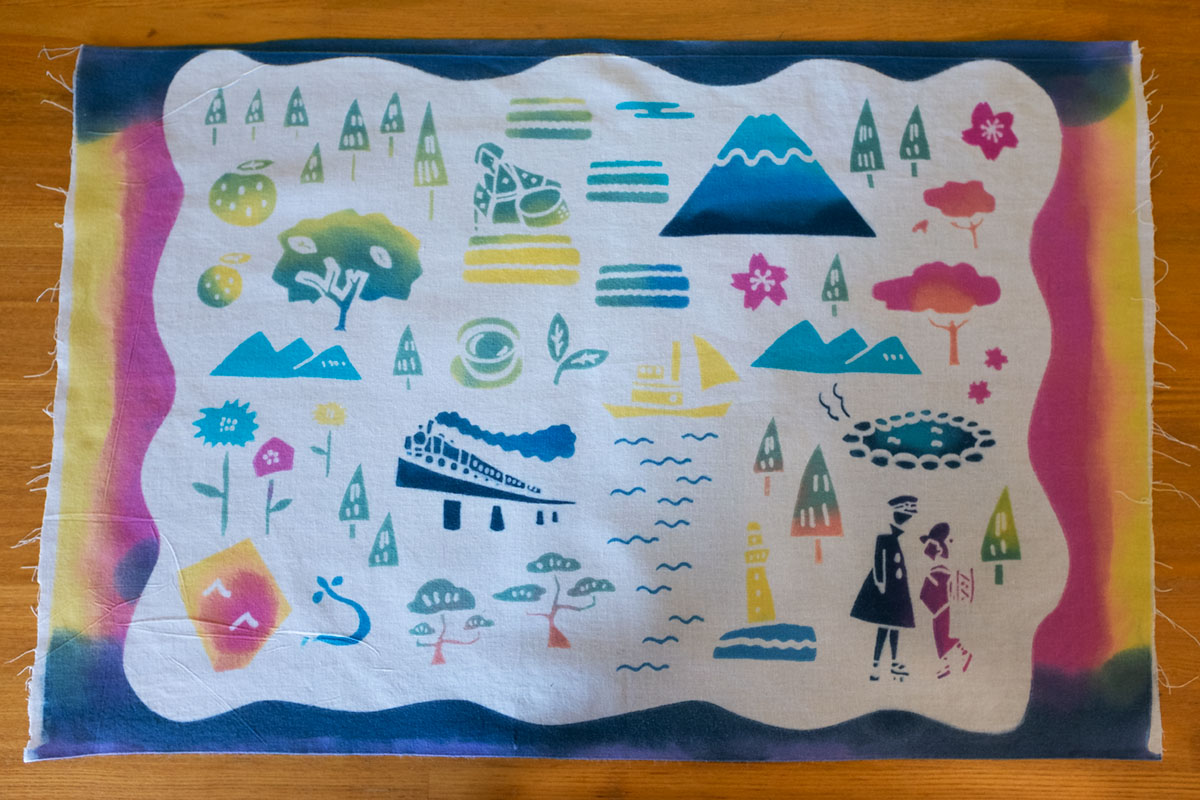
The process begins by carefully spreading a unique liquid over a stencil which sits on top of a small section of a long roll of cotton fabric. The stencil is pre-made and features a collection of symbols and images of things that Shizuoka Prefecture is famous for, including Mount Fuji, green tea, cherry blossoms and local foods such as oranges and eel.
The liquid that is spread over the stencil is a brown gooey mixture made from seaweed, rice flour and clay. This is evenly applied to the fabric firstly by spread from right to left, and then back across the stencil from left to right.
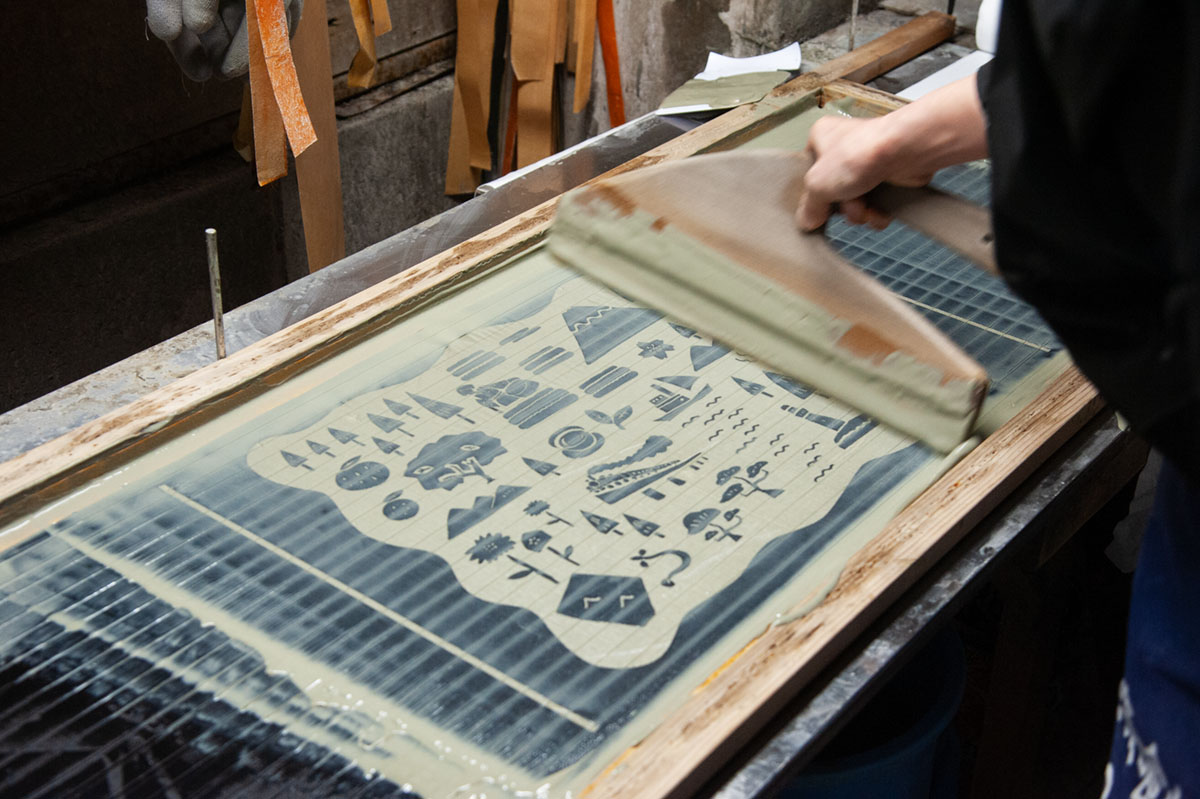
The stenciled areas will later be decorated using different colored dyes. Later on in the process the seaweed, rice flour and clay mixture that’s spread across the fabric will be washed away and this area will be left as the same color as the fabric.
After the first application of the seaweed, rice flour and clay mix is spread over the fabric the stencil is raised. Another layer of the roll of fabric is carefully laid out on top of the area to which the gloopy mix has just been applied. The stencil is then lowered back into place and another spread of the mixture is applied.
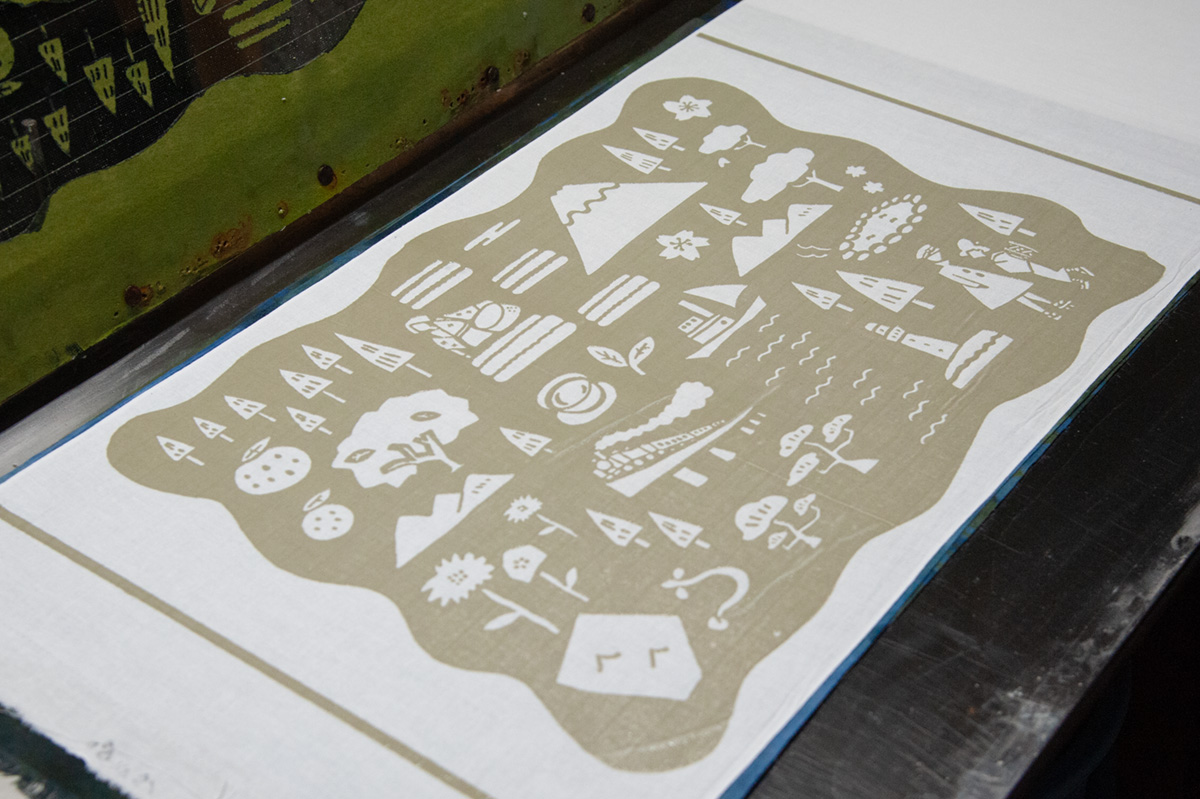
As the total length of the cloth is around 7 meters, this process is repeated several times. This will create a repeated pattern along the whole length of the fabric which will be neatly folded into several layers by the time this stage is completed.
Preparing the Fabric for Dyeing
Once the clay mixture has been applied several times across the full length of fabric the next step is to quickly dry it and seal it in place. For this the folded fabric is unceremoniously placed on the floor of the workshop and covered with sawdust. The sawdust is brushed over the fabric with a broom before limestone is also applied, sticking to the clay mix and helping it to dry out.
The next step is to add color to the patterned print. Still folded into layers, the fabric is scooped up off the floor and placed onto a special work surface not too dissimilar to a grill. This work surface is connected to an air pipe on the underside, the reason for this will become clear later. Before adding the dye the first thing to do is to separate the various sections of the print so that different colors can be applied to different areas without running into each other.
Applying the Dye and Adding Color
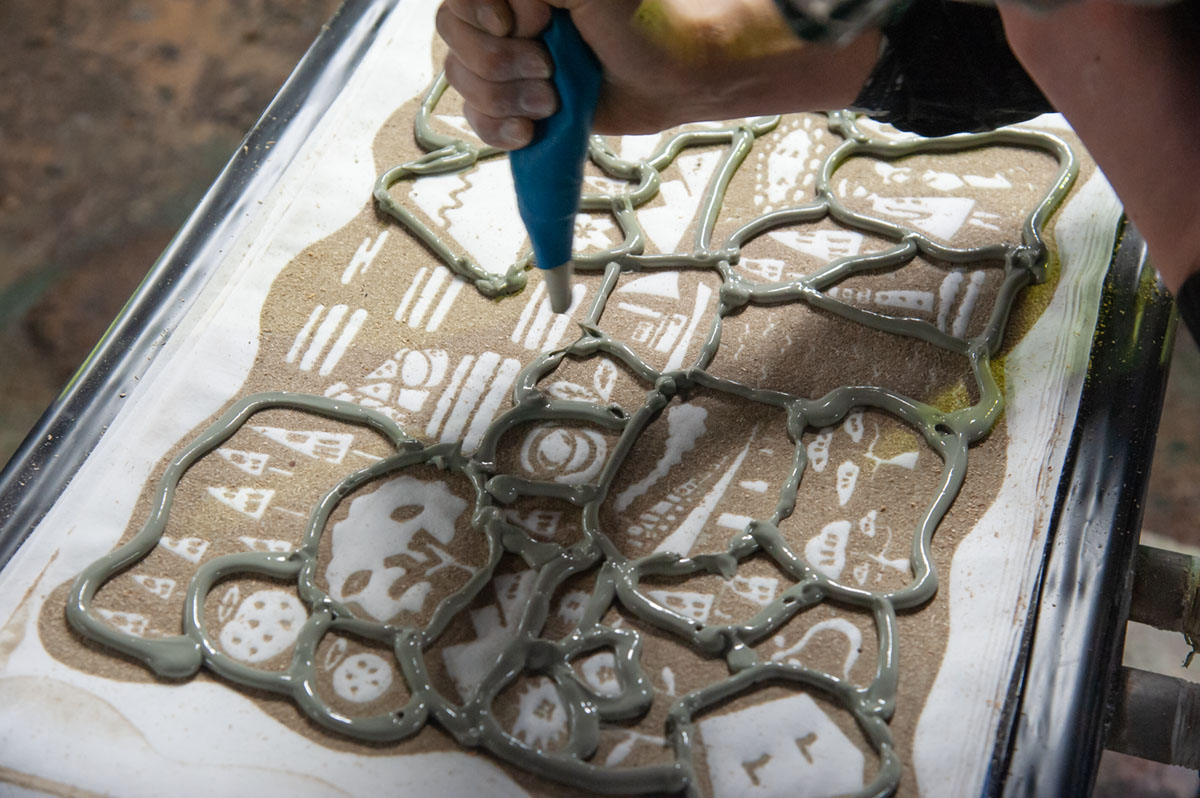
To do this, another thick glue-like mixture is carefully poured around each motif using a method that is very similar to piping icing onto a cake. With this done the colors can now be added.
There are a whole range of coloured dyes available to use to decorate your tenugui. The dye is poured directly onto each section from metal cans with long thin spouts. It’s entirely up to you which colors you use on which image, and you can let your creative side go wild.
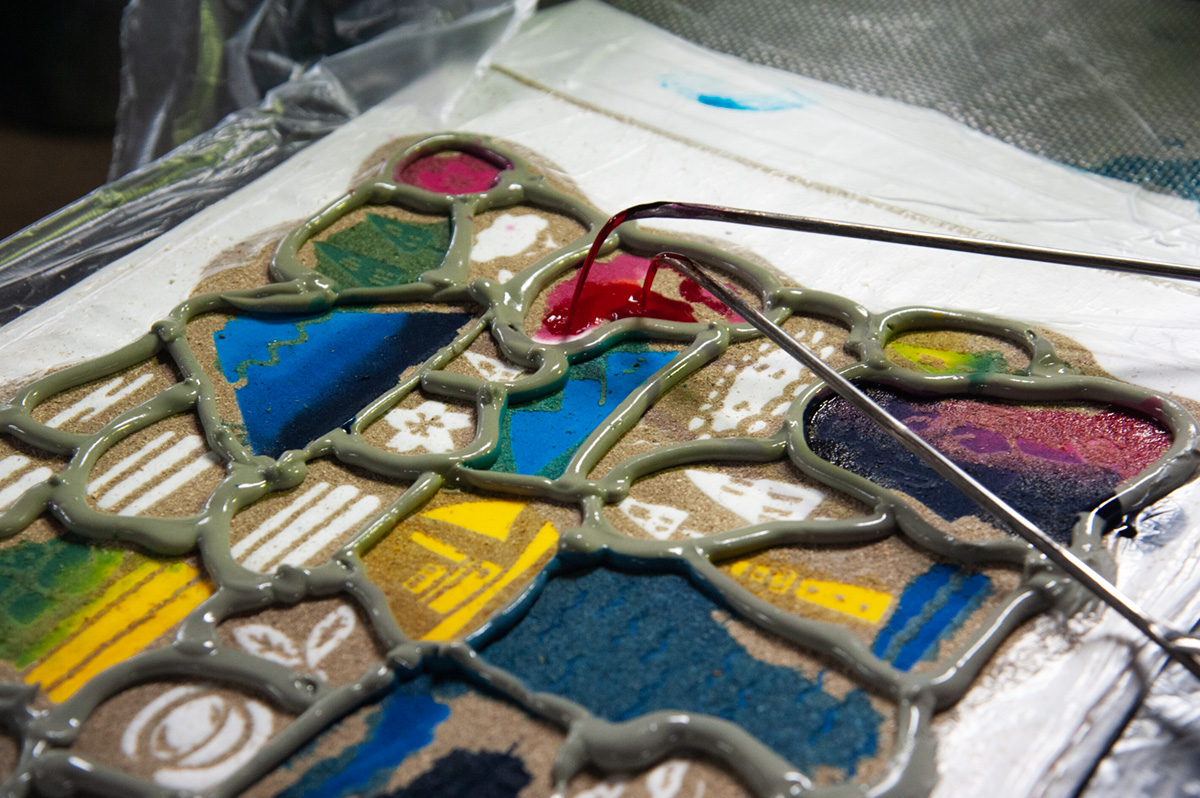
There are also a few additional advanced techniques that you can use when adding the dye to create an extra special final tenugui. Firstly you can pour more than one color onto a motif to create decorative patterns. To take it up a notch, you can also create clever gradients by carefully staggering different colored dyes across specific areas of the pattern. This advanced technique can give parts of the image even more depth and colorful detail.
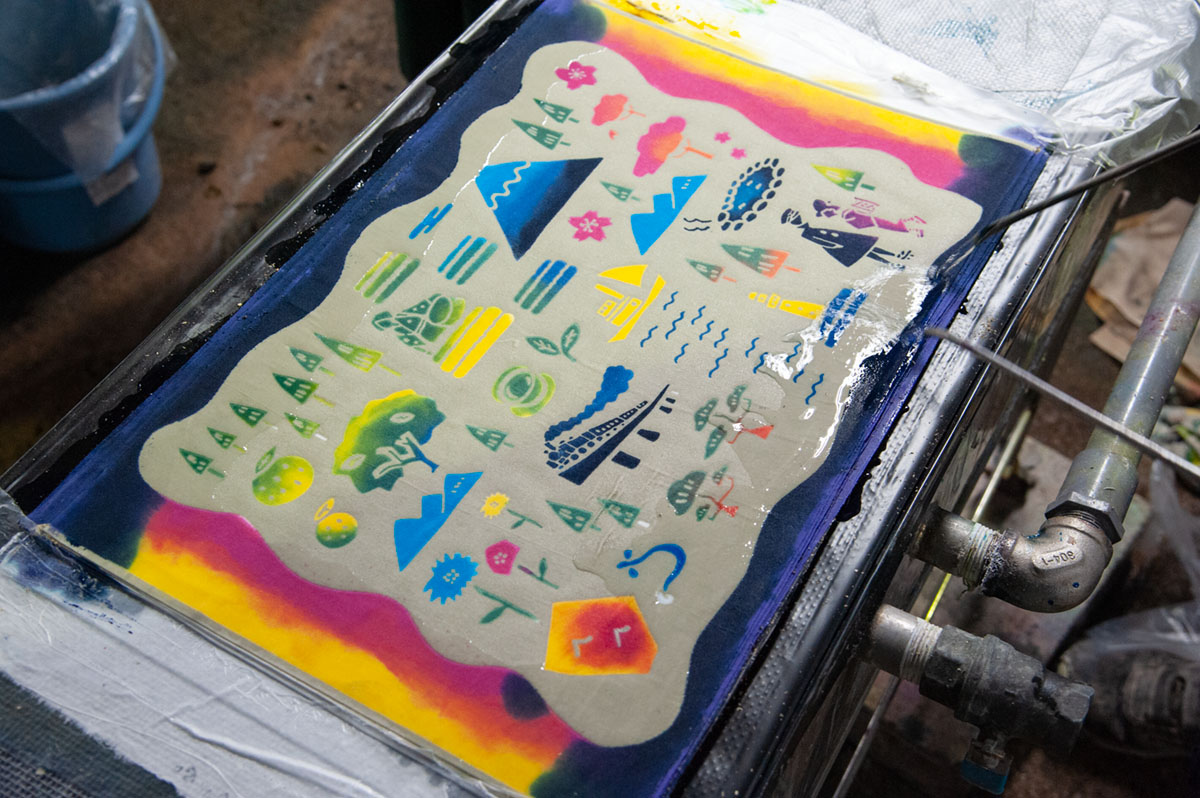
Because the cloth is folded into layers, the dyes run through to each pattern that has been printed onto the fabric. This is how the colors are applied to all layers of the fabric with one pouring of dye. When the colors are poured the air pipe underneath is opened up which sucks the dyes through to the underside, ensuring an even spread of color on each print. Once dye has been applied to all areas, a solution is poured over the top which binds the colors to the fabric.
The Final Stages – Washing and Drying the Cloth
With the color added, the tenugui is starting to take shape. The next stage is to thoroughly wash the fabric to remove the original seaweed, rice and clay mix as well as the thick borders that were applied for coloring. In days gone by this would have been done by hand in a river, but today the fabric is unfurled and tied to a purpose-made contraption that splashes it through a large tank of water at a frenetic speed. Within a few minutes all of the remnants of the unwanted mixtures are gone, leaving behind only the colorful dyes and the stenciled symbols of Shizuoka Prefecture.
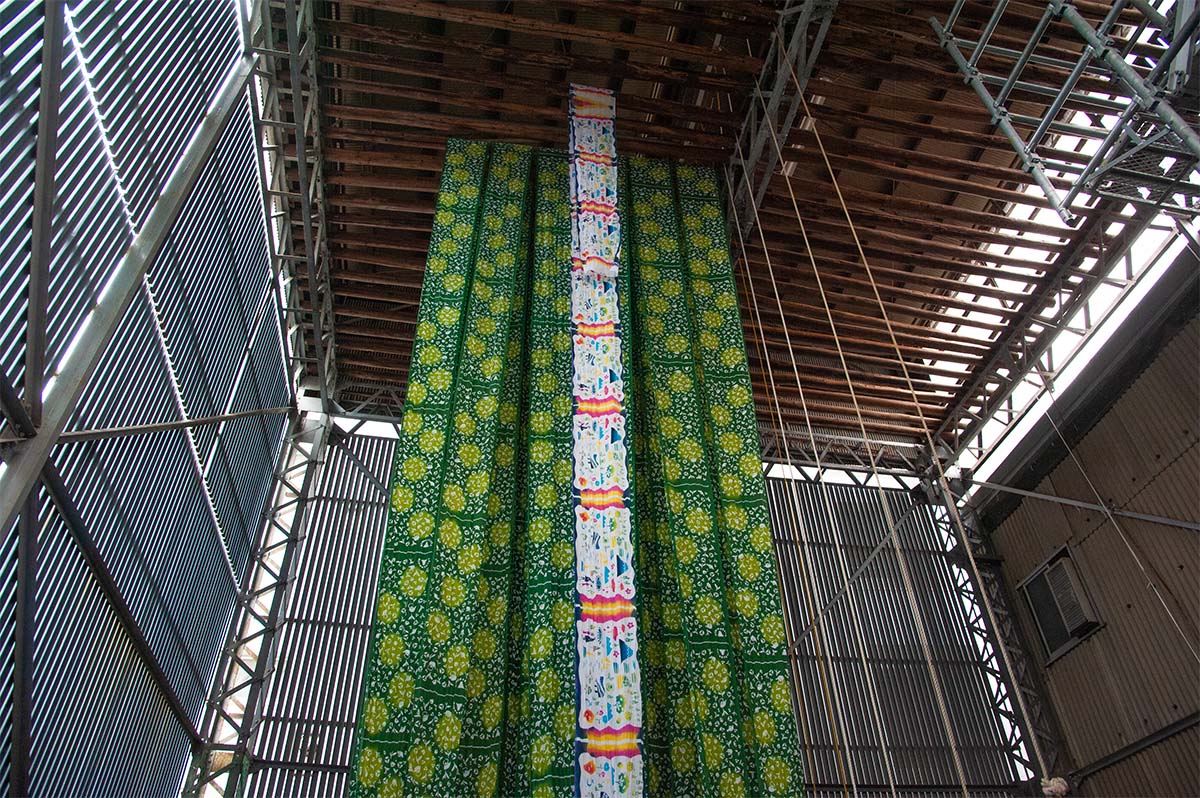
After being washed the full fabric needs to be unraveled and hung up briefly to dry and to regain its shape. This is when you truly appreciate the full size and scale of the piece that you have just created. Fully unfurled and hanging from the rafters of the workshop’s drying room, the final fabric is close to seven meters in length.
Creating the Final Tenugui – The Perfect Souvenir from Hamamatsu
After hanging for a short while, the fabric is taken back to the main workshop and placed inside an industrial drying machine that will remove any remaining moisture within a couple of minutes. Once fully dried the full length fabric is cut down into individual tenugui, creating a wonderful souvenir from your time learning all about the traditional dyeing technique of chusen some in Hamamatsu.
How to Book a Chusen Some Dyeing Experience
You can enjoy your own chusen some dyeing experience at Nihashi Somekoujyo. Click here for more information about the tour and to book your own visit to the workshop by completing the booking form at the bottom of this page.
How to Get to Nihashi Somekoujyo
Nihashi Somekoujyo’s workshop is a two minute walk from Enshubyoin Station in Hamamatsu. Enshubyoin Station is just two stops from Shin-Hamamatsu Station in the center of the city on the Enshu Railway Line. The train ride from Shin-Hamamatsu to Enshubyoin Station takes only two minutes.